Install Tomcat 9
Download Tomcat 9:
wget http://mirror.cogentco.com/pub/apache/tomcat/tomcat-9/v9.0.10/bin/apache-tomcat-9.0.10.zip
Installing Tomcat:
Step i. Just unzip tomcat in /tomcat directory and open tomcat-users.xml file in vi mode, which is located under "/tomcat/apache-tomcat-9.0.10/conf/tomcat-users.xml"
.
Delete the text highlighted under yellow rectangle and replace it by below mentioned text:
<role rolename="manager-script"/>
<role rolename="manager-gui"/>
<role rolename="manager-jmx"/>
<role rolename="manager-status"/>
<role rolename="admin-gui"/>
<role rolename="admin-script"/>
<user username="admin" password="admin123" roles="manager-gui,manager-script,manager-jmx,manager-status,admin-gui,admin-script"/>

Step ii: Just update the context.xml file ( vi /tomcat/apache-tomcat-9.0.10/webapps/manager/META-INF/context.xml ). highted under yellow should be replaced by below mentioned command:
highlighted under yellow by below mentioned configuration.
allow="\d+\.\d+\.\d+\.\d+" />

By default, tomcat allows its adminconsole to be accessable only to IP address starting from 127.* ( That is your local host ),
http://localhost:8080 or http://127.0.0.1:8080
That means, if you unix box has IP address 192.168.10.15 ( or any IP ), by default tomcat url will not be accessible through your unix server IP or buy its DNS.
example : http://192.168.10.15:8080 or http://yourServerDNS:8080
After making suggested change, you can access tomcat through server's ip and DNS
Deploy a sample Application
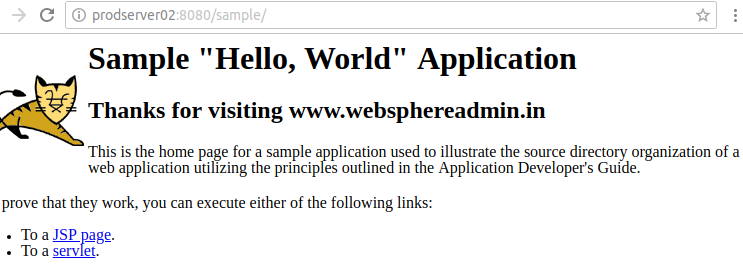
Deploy a sample war to validate tomcat installation
Install Apache 2.2
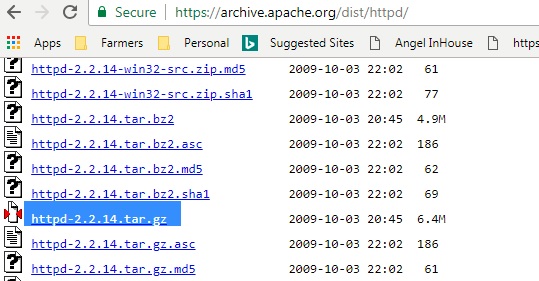
Download Apache 2.2 and extract it.
Step 1: sudo apt-get install build-essential
This command will make sure to install code compiler, if its missing on your machine. This is an optional step. I will suggest to try to use step 2 and come back to Step 1, only if step 2 fails.
Step 2: Go to the location , where have extracted Apache 2.2 and execute below mentioned commands one after another:
- sudo ./configure --prefix=/apache --enable-rewrite=shared --enable-proxy=shared
![]()
sudo make && sudo make install
The above command is going to install apache-httpd in /apache directory and will enable two modules which we will be using for load balancing .
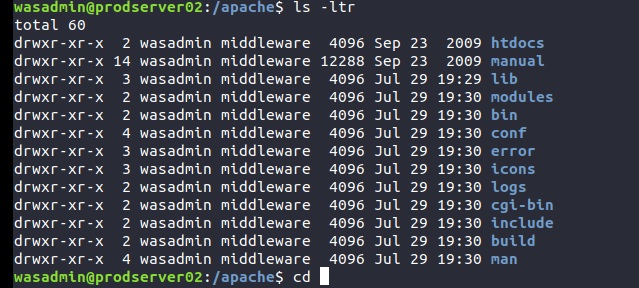
Once above commands are executed, you will see following files/directories under /apache.
Lets start the apache webserver:
sudo ./apachectl -k start
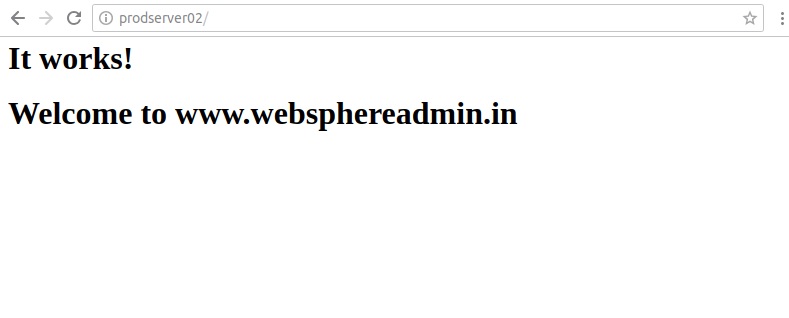
Our WebServer is all set.
Installing and configuring mod_jk
The mod_jk connector is an Apache HTTPD module that allows HTTPD to communicate with Apache Tomcat instances over the AJP protocol. The module is used in conjunction with Tomcat's AJP Connector component.
About Connectors
Apache Tomcat uses Connector components to allow communication between a Tomcat instance and another party, such as a browser, server, or another Tomcat instance that is part of the same network. For example, the HTTP connector listens for requests over the HTTP/1.1 protocol on various TCP ports, and forwards them to the Engine associated with processing the request.
Using the AJP connector, Apache Tomcat instances can exchange data with mod_jk enabled instances of Apache HTTPD, using the AJP protocol.
About AJP
AJP, an acronym for Apache Jserv Protocol, is a binary version of HTTP that is optimized for communication between Apache HTTPD and Apache Tomcat over a TCP connection
Please run the below mentioned command from any location on your server.
sudo apt-get install libapache2-mod-jk
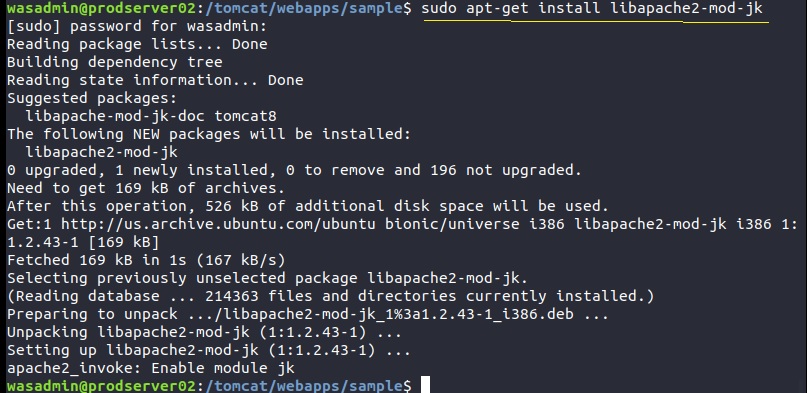
Now we will make some simple changes in following two files to access our application through webserver.
Files that needs to be updated after mod_jk installation.
- server.xml : This file is part of Tomact configuration/installation
- workers.properties : This file is part of mod_jk installation
- 000-default.conf : This file is part of apache installation
Lets open /tomcat/conf/server.xml